3D embroidery consists in giving volume to the embroidery to create a three-dimensional effect.
3D embroidery can be done with thread embroidery, using tear-off foam or wadding and following few simple but precise digitizing techniques. Often, a final finishing is required to be done by hand, to remove any parts of foam getting out from the thread. Hence, technique and experience are essential for optimal result.
If you want to replace the thread embroidery with applications, with a laser bridge the work is done quickly and you can create truly unique processes in less time!
Steps to 3D appliqué
The work can be done into two steps:
- stitch and cut the material that will give the 3D effect, usually foam or wadding
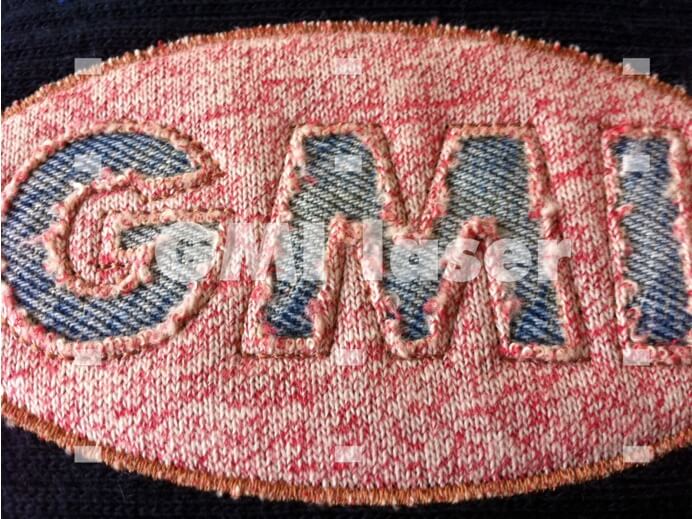
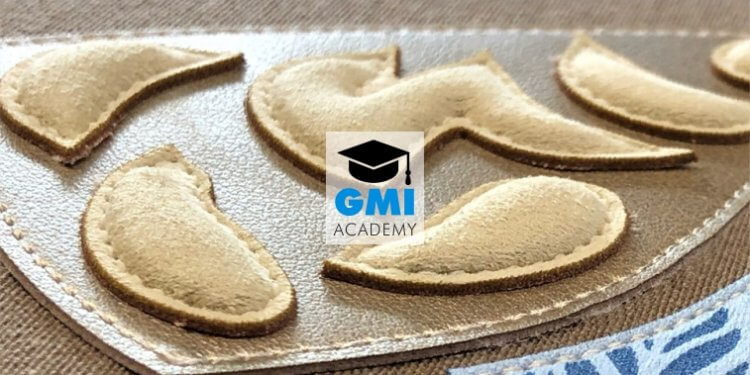
- sew and cut of the material being applied. For this, you can range from synthetic fabric, to natural fabric, micro-fiber, leather or eco-leather (i.e. in automotive sector).
When you draw the design, take into account the thickness of the filling material and how flexible the application material will be.
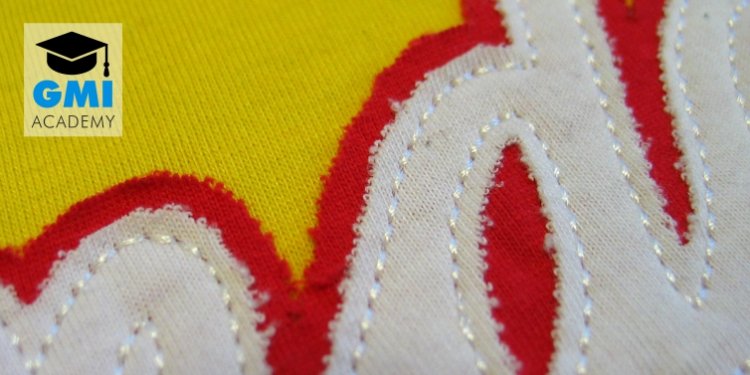
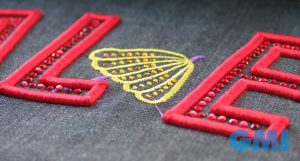
Here are some examples of 3D appliqué cut with the GMI laserbridge system, made with wadding, minimal thickness, and with 3mm foam.


Practical tips
When drawing the designs, we recommend starting keeping fairly large margin between the sewing and the cutting. Always make some tests on the machine, then you will know if you can reduce the distance until you achieve the desired effect.
The thickness of the foam affects the distance between the cutting line of the foam and the cutting line of the appliqué material.
In the end, choose whether the cut of the application must be covered with column stitches or left unfinished.
To receive information on both 3D thread embroidery and 3D embroidery with laser applications, contact us.